Laminate flooring offers a cost-effective and attractive option for homeowners looking to enhance the aesthetics and functionality of their spaces. Whether you’re renovating your home or sprucing up a commercial property, installing laminate flooring can be a rewarding project. In this comprehensive guide, we’ll take you through the step-by-step process of installing laminate flooring, ensuring that you achieve professional results with ease.
Step 1: Pre-Installation Preparation
Before you begin installing laminate flooring, it’s essential to prepare the space properly. Start by removing any existing flooring and ensuring that the subfloor is clean, dry, and level. Inspect the subfloor for any signs of damage, and make any necessary repairs before proceeding.
Step 2: Gather Your Tools and Materials
To streamline the installation process, gather all the necessary tools and materials beforehand. You’ll typically need:
- Laminate flooring planks
- Underlayment
- Tape measure
- Spacers
- Saw (jigsaw, circular saw, or handsaw)
- Hammer
- Tapping block
- Pull bar
- Utility knife
- Safety goggles
- Dust mask
Step 3: Acclimate the Flooring
Before installation, allow the laminate flooring to acclimate to the room’s temperature and humidity levels. This helps prevent expansion or contraction of the planks after installation, ensuring a stable and long-lasting floor.
Step 4: Install the Underlayment
Lay down the underlayment according to the manufacturer’s instructions, ensuring that it covers the entire floor area. The underlayment provides cushioning, moisture protection, and sound absorption for the laminate flooring.
Step 5: Plan Your Layout
Carefully plan the layout of the laminate flooring, considering factors such as room shape, doorways, and transitions to other flooring types. Start in a corner of the room and work your way outwards, ensuring a balanced and visually appealing installation.
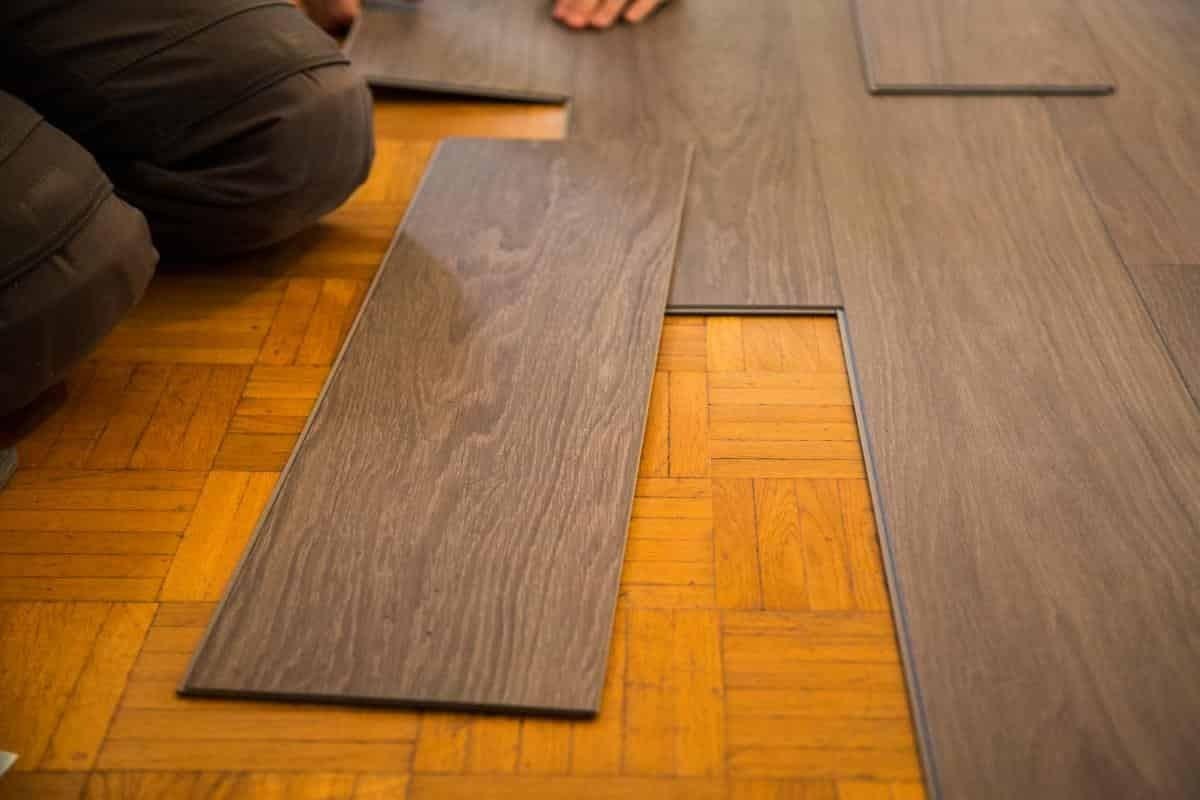
Step 6: Install the First Row
Begin installing the first row of laminate flooring, ensuring that the grooved side of each plank faces the wall. Use spacers to maintain a consistent expansion gap around the perimeter of the room. Cut the final plank in the row to fit using a saw, ensuring a snug fit against the wall.
Step 7: Continue Installation
Continue installing the remaining rows of laminate flooring, ensuring that each plank is securely locked into place with a slight angle and downward pressure. Use a tapping block and hammer to gently tap the planks together, ensuring tight seams and a seamless appearance.
Step 8: Install Transitions and Trim
Once the main flooring installation is complete, install transition strips and trim pieces as needed to provide a finished look and cover any gaps between the laminate flooring and other surfaces, such as doorways or stairs.
Step 9: Final Inspection and Cleaning
After completing the installation, carefully inspect the entire floor for any gaps, uneven areas, or visible damage. Make any necessary adjustments or repairs as needed. Finally, clean the laminate flooring using a damp mop or recommended cleaning solution, ensuring a polished and pristine finish.
Conclusion
By following this step-by-step guide, you can confidently install laminate flooring in your home or commercial space, transforming the look and feel of the area with ease. Remember to take your time, follow manufacturer guidelines, and prioritize safety throughout the installation process. With careful planning and attention to detail, you’ll enjoy the beauty and durability of laminate flooring for years to come.
For high-quality laminate flooring and expert installation services, trust The Carpet. Contact us today to learn more about our products and services.